Stream It. Record It. Keep It.

You can add files to Replay Converter for conversion in several different ways:
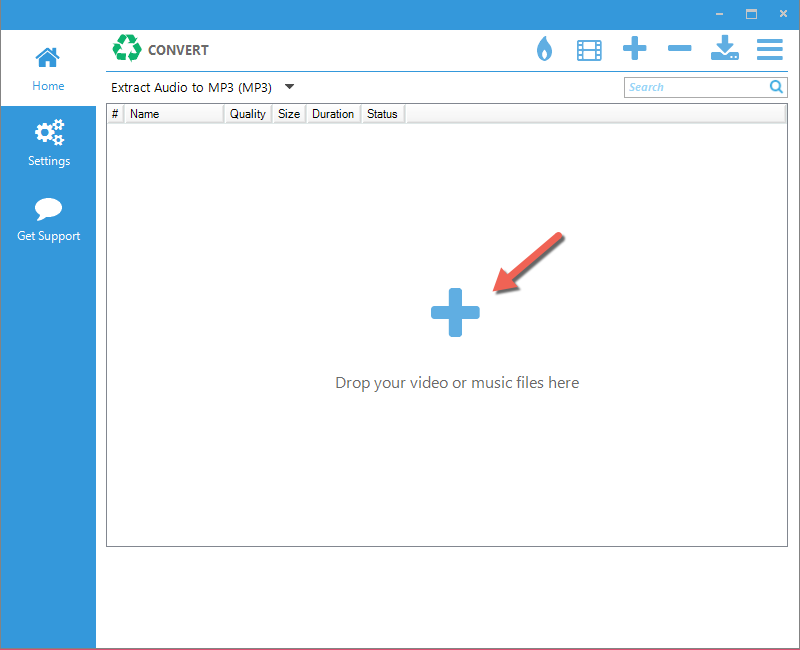
You can add as many files as you want.
Replay Converter's main window includes a conversion settings drop-down menu at the top-left. There you'll find many different conversion presets and options. The conversion settings are sorted by both file format and device manufacturer so that you can quickly and easily find the one that is right for you.
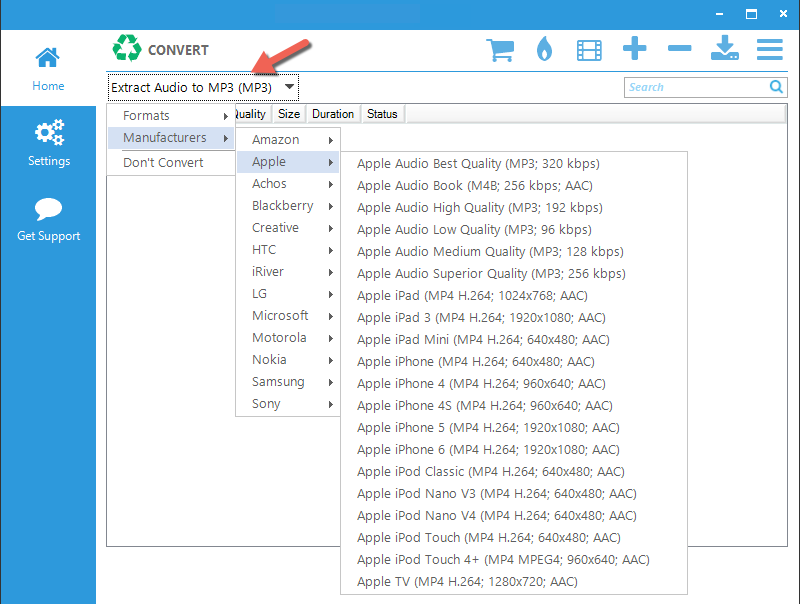
You have full control over the preset conversion settings and can create, delete and modify them as you wish.
As new devices and formats are released, we update preset conversion settings on our servers and these are automatically downloaded when you start the application.
To create, delete or edit existing preset conversion settings, see the Conversion Presets section below.
Once you've added your file(s) to Replay Converter, simply click the green Convert button at the top-left.

The Convert button will change to a Stop button. Use this to stop a conversion in process. When the conversion finishes, it will be saved to your selected Output Folder as described in the Settings section below.
Tools
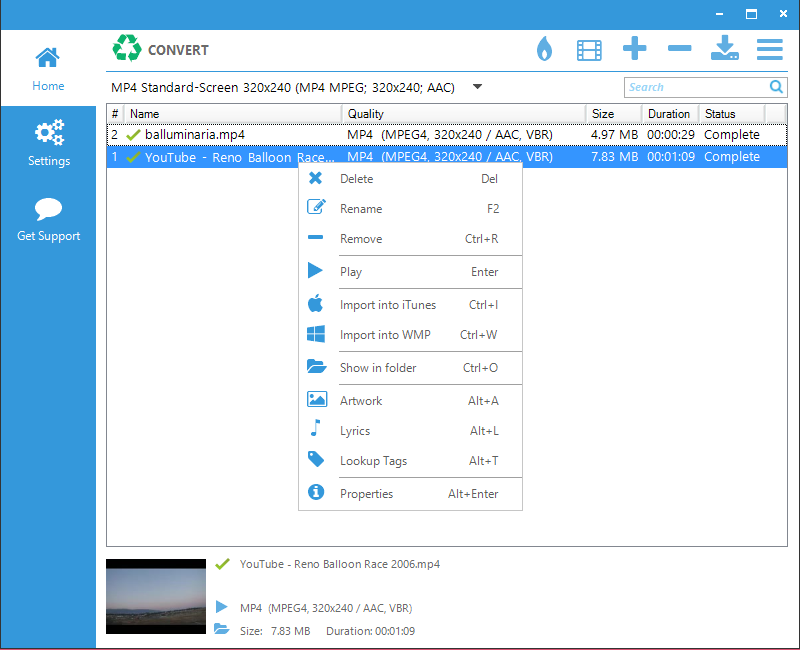
Right-click on any file in your conversion list to display these tools:
Replay Converter can burn media files to CD's or DVD's. Here's how:
From Replay Converter's top menu click the Burn icon. The CD/DVD/Blu-ray Burning Window opens:
Select the type of disc that you'd like to burn. Make sure there is blank media in your CD/DVD drive. Click Next. Select your CD/DVD Device drive. Click Next. Select the files to burn. Click Next. Select burn options.
Use Replay Converter's Settings tab to personalize it as well as configure settings and options.
Personalization
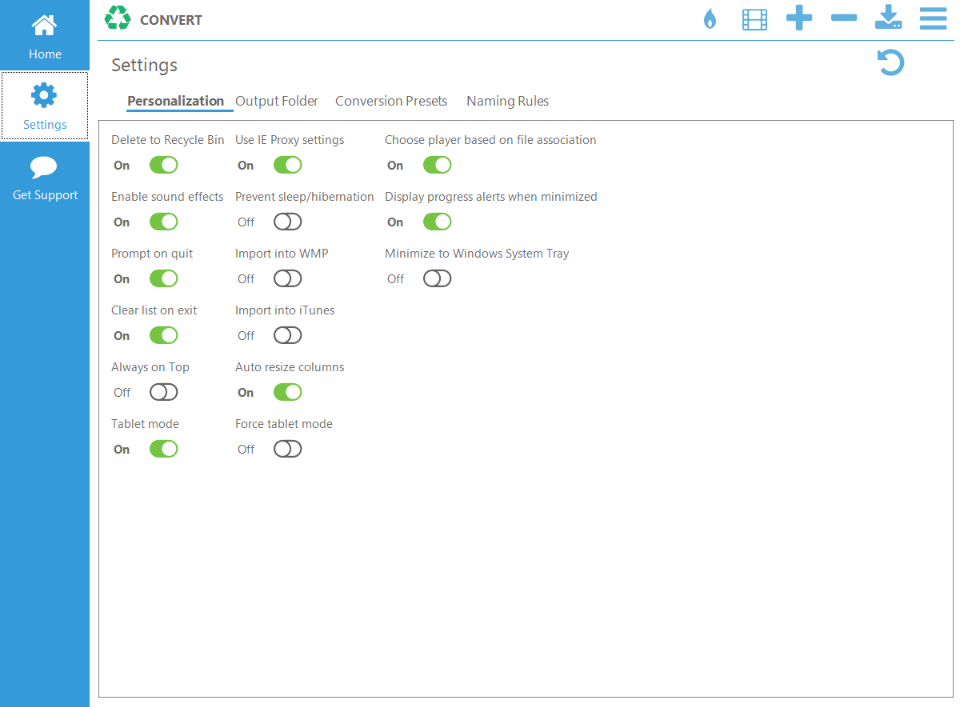
Use this screen to choose the following:
Output folder
Use this tab to configure output folder settings:
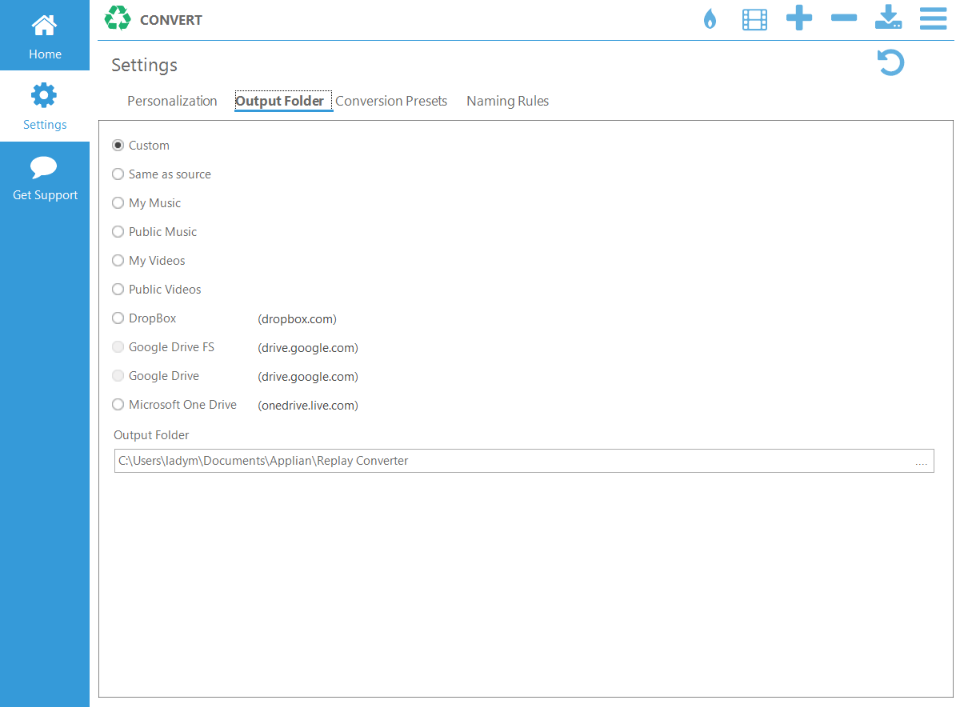
When Custom is selected, you can specify the path to the output folder of your choice. This is where converted files will be saved.
In addition to all the standard options, you can choose to connect a cloud folder and make Replay Converter save converted files there. Google Drive, Dropbox and Microsoft OneDrive are supported.
Conversion Presets
Use this tab to create and customize various file conversion presets:
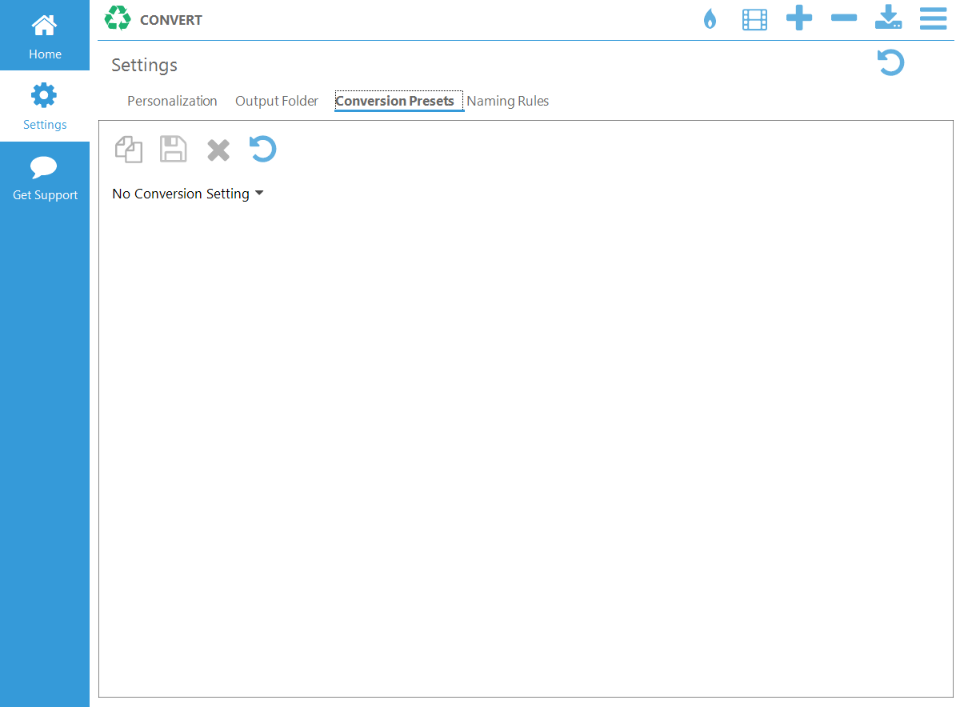
To create a new preset, click on the “No Conversion Settings” drop-down menu. You'll be able to create presets either based on file format or based on manufacturer.
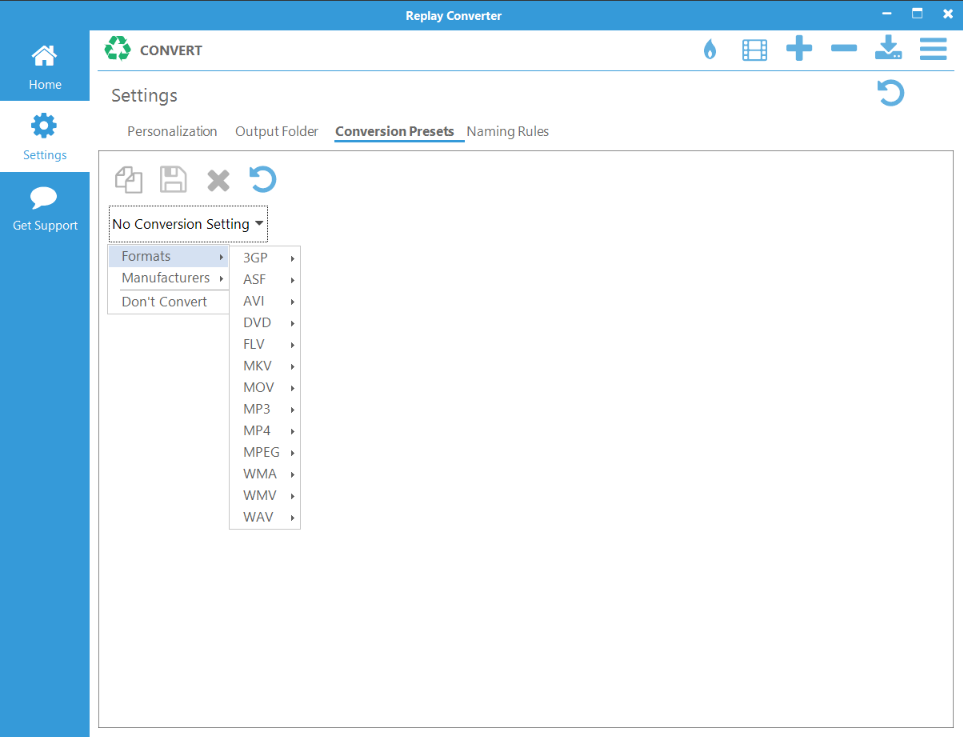
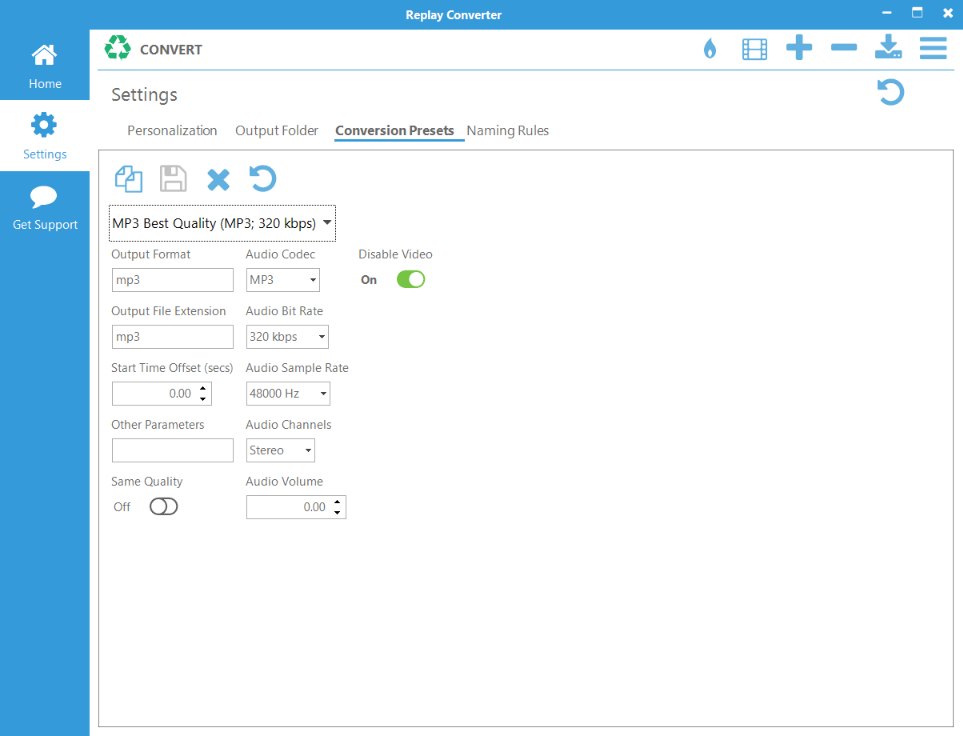
Select the output format you want to create the preset for, then customize the settings:
If you'd like to create a preset for playback on a particular device, select the manufacturer and then the device from the drop-down menu:
Naming Rules
Use this tab to create and configure file naming rules:
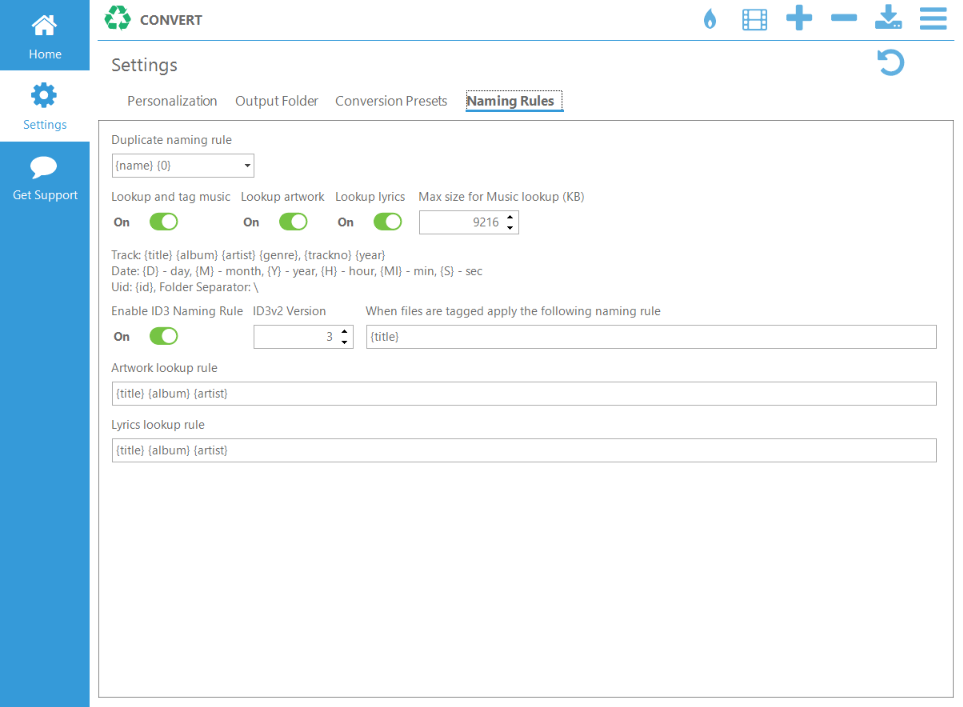
By default, Replay Converter will try to look up ID3 tags, artwork, and lyrics, and add them to the converted files. Use {title}, {album}, {artist}, {genre}, {trackno}, and {year} to create naming rules.